Piper Pass via Elbow Lake

  • Length – 19.6 km
  • Elevation – 772 m
  • Difficulty – Moderate

Before I get into the nitty gritty of this hike, we did not complete the hike to the summit. Everything in this post is based off what we completed which was to the valley about 1 km from the end of the pass.

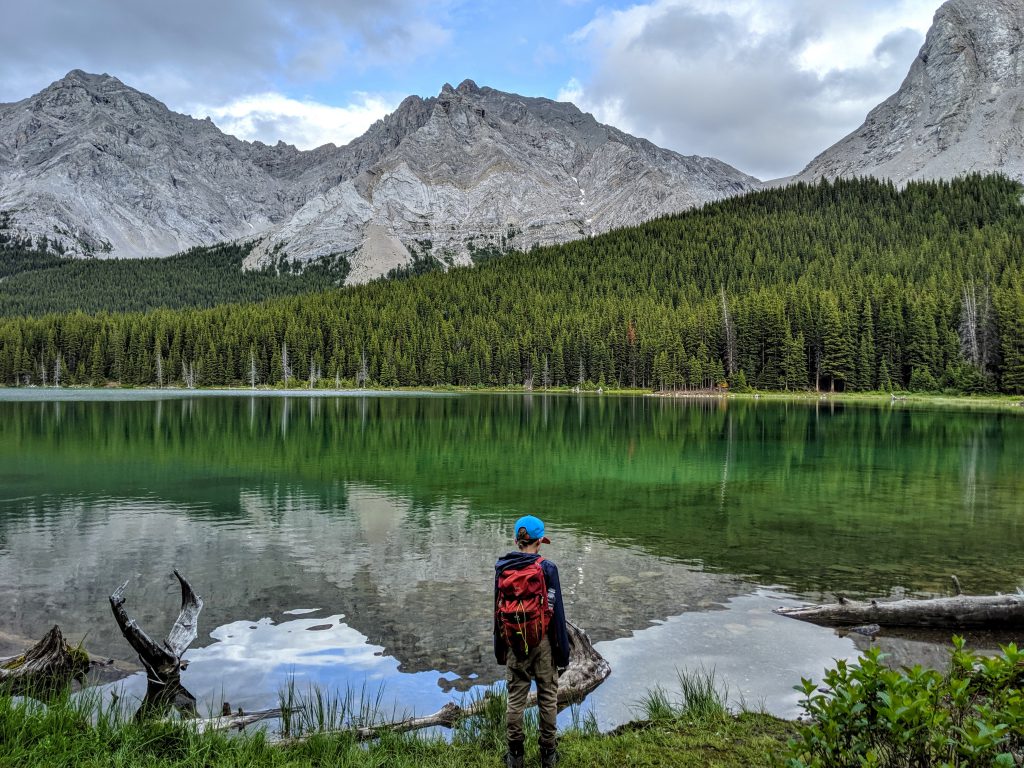
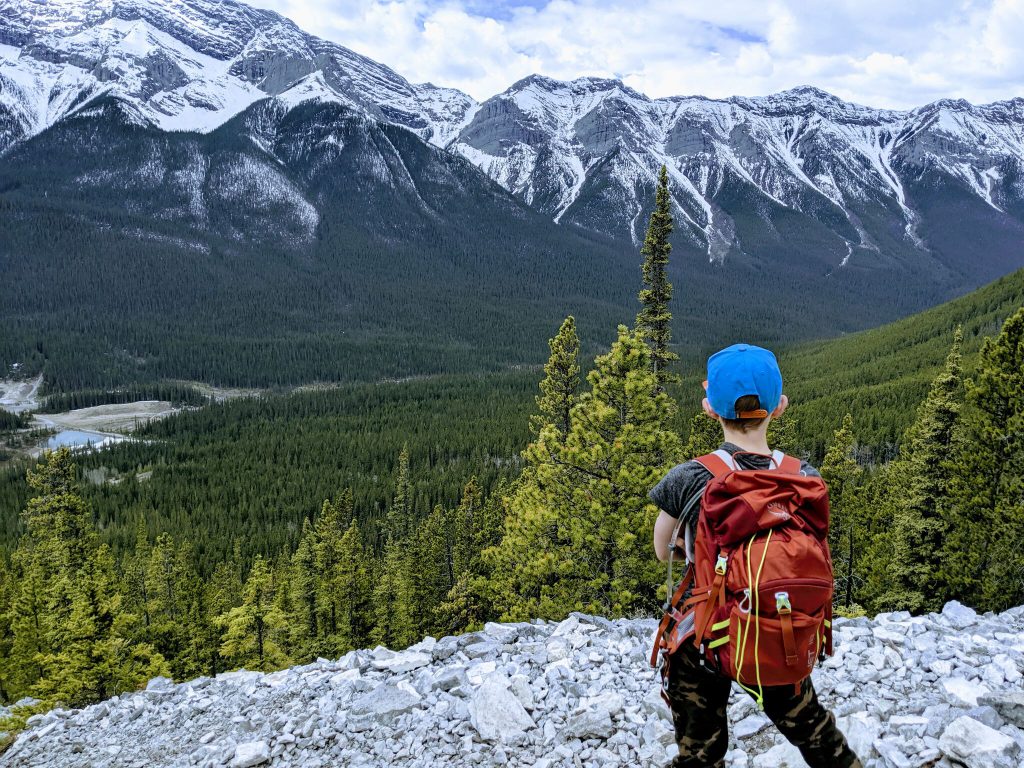
The moment you leave the parking lot you begin to gain elevation quite quickly until you reach Elbow Lake which is approximately a km from the parking lot. This is the busiest section of trail as there is back country camping sites at the lake.

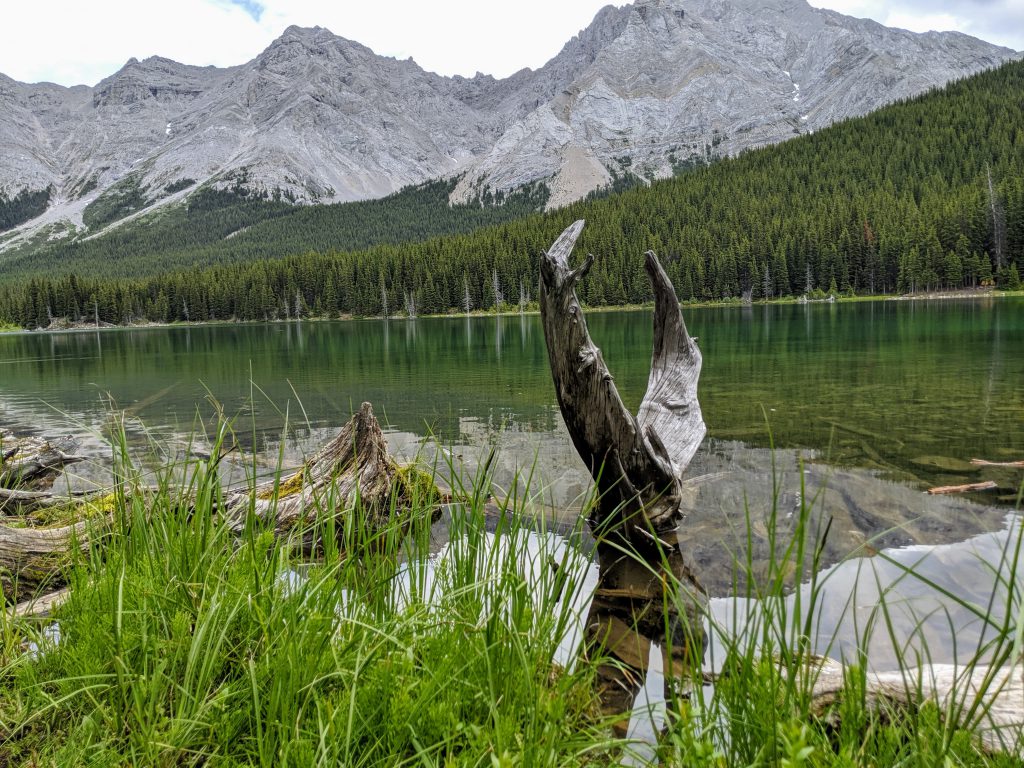
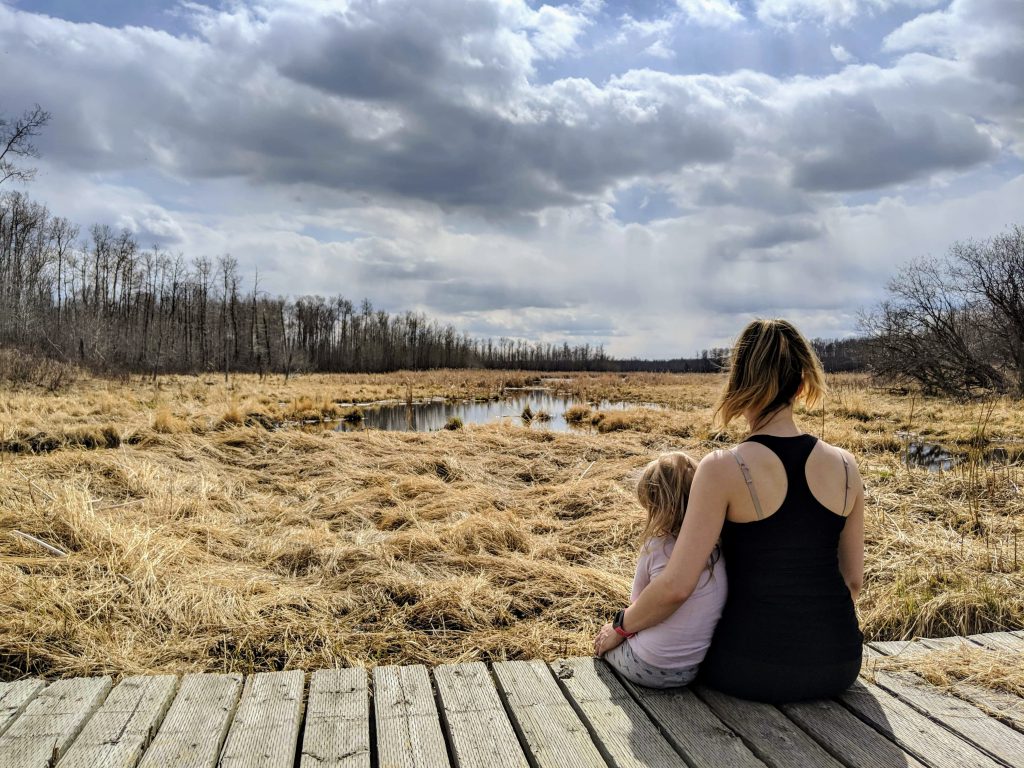
The lake is a beautiful see through green, reminiscent of Grassi Lakes but without all the tourists.

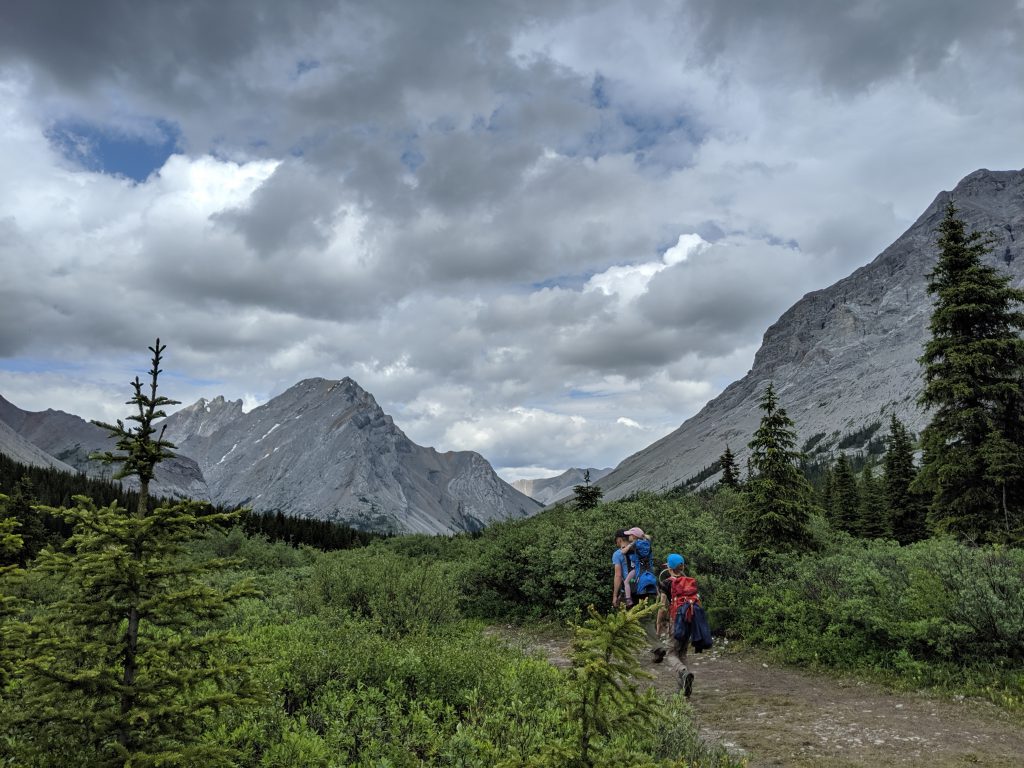
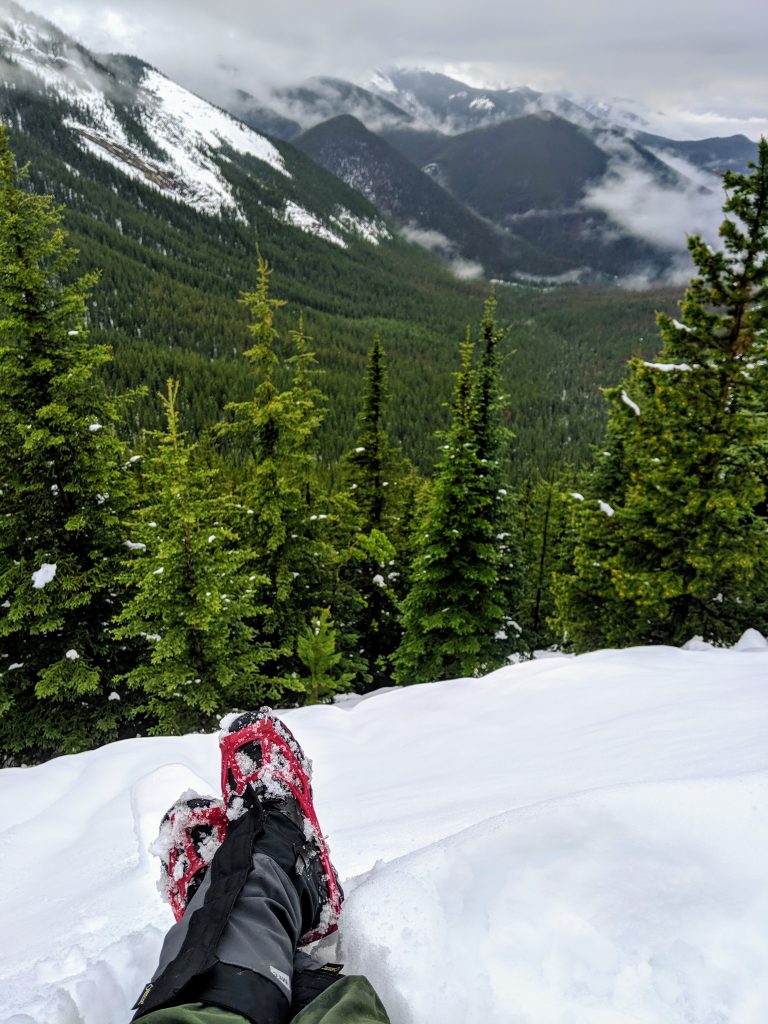
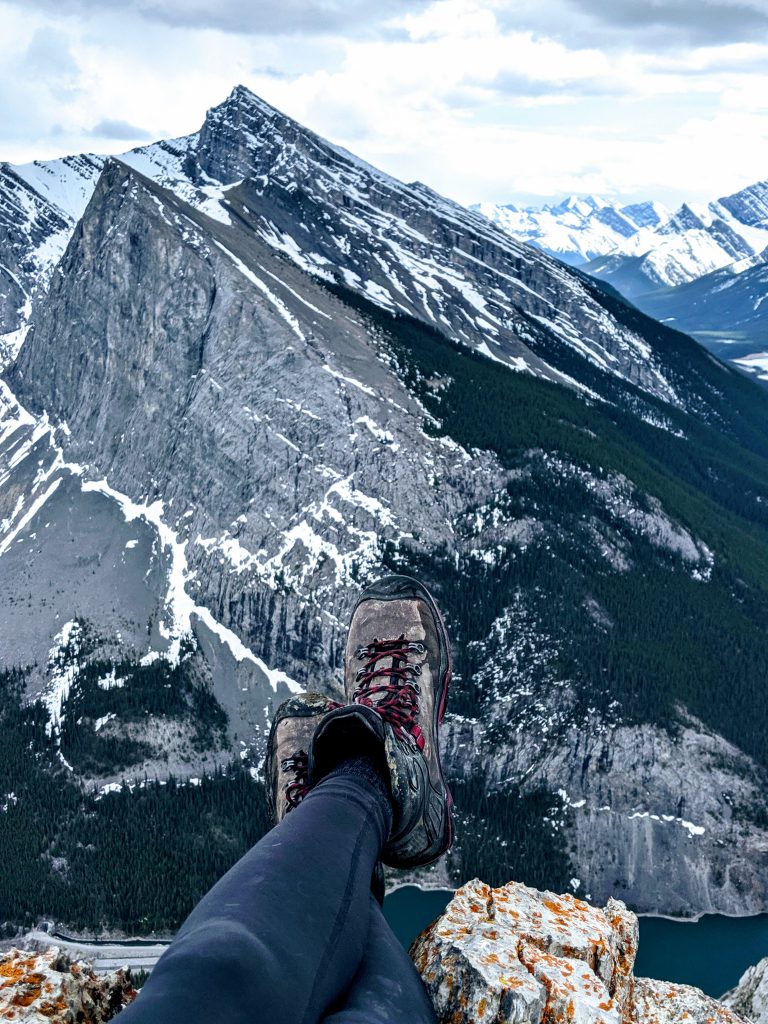
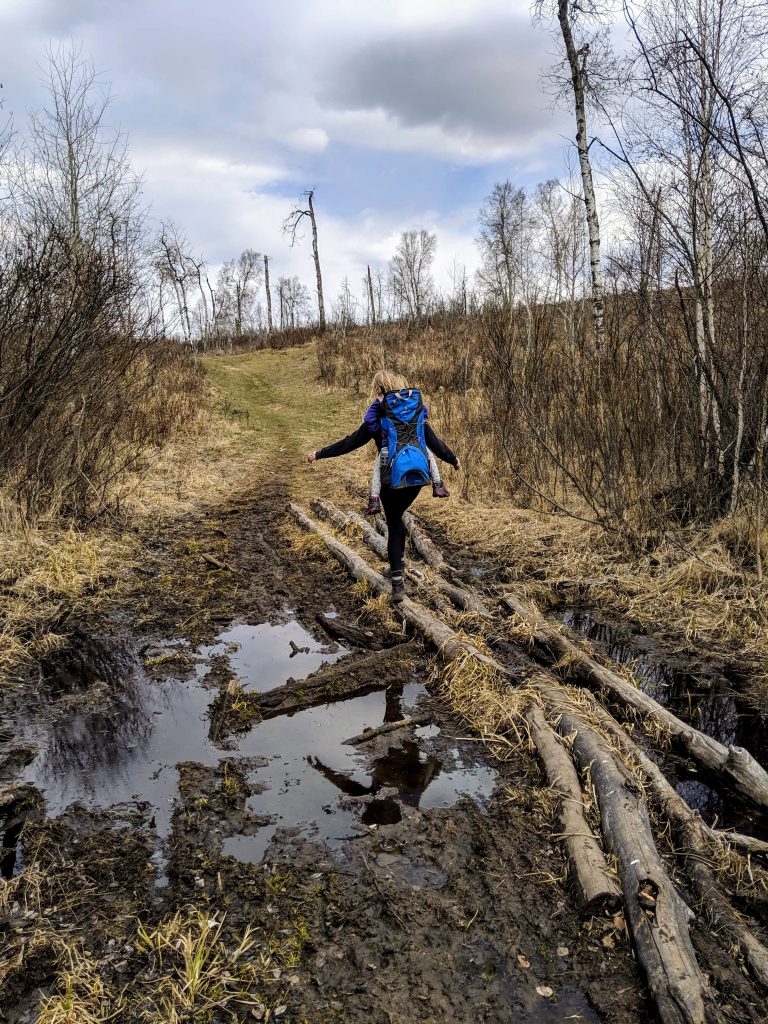
After the lake the terrain evens out a bit and is a relatively flat and easy hike. This trail is also used as an equestrian trail and some of the paths are pretty ripped up. We were very thankful we were all in water proof boots as we navigated through the muck and pools on the trail. (Keep in mind, this is being written during a very wet and rainie summer).

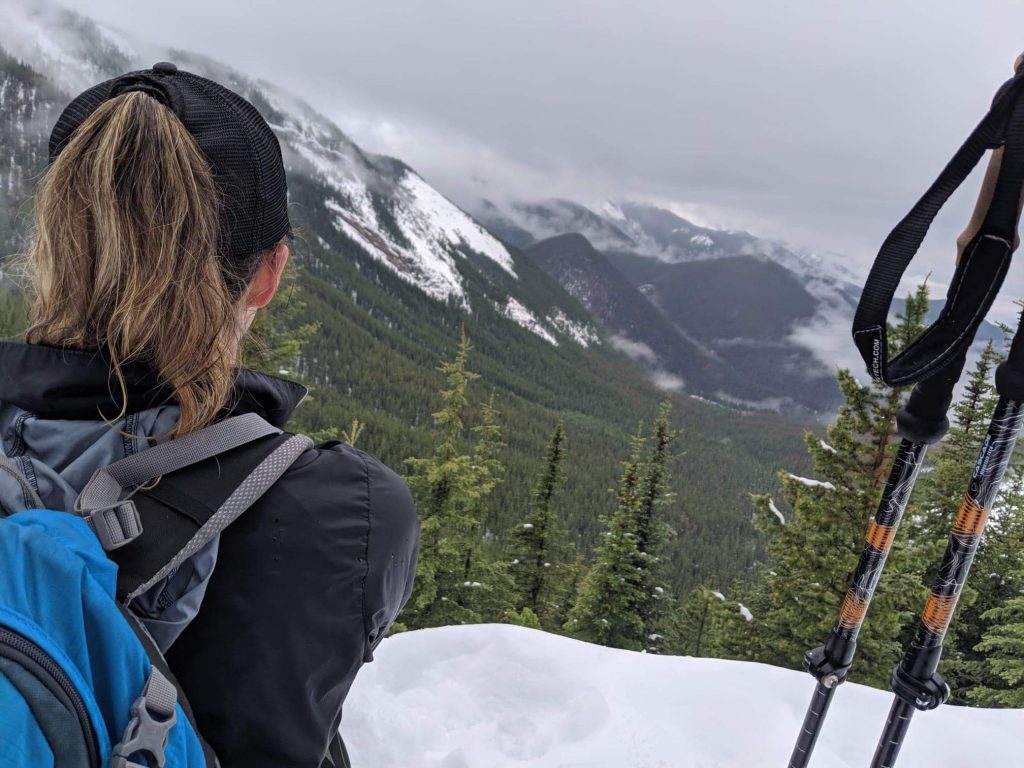
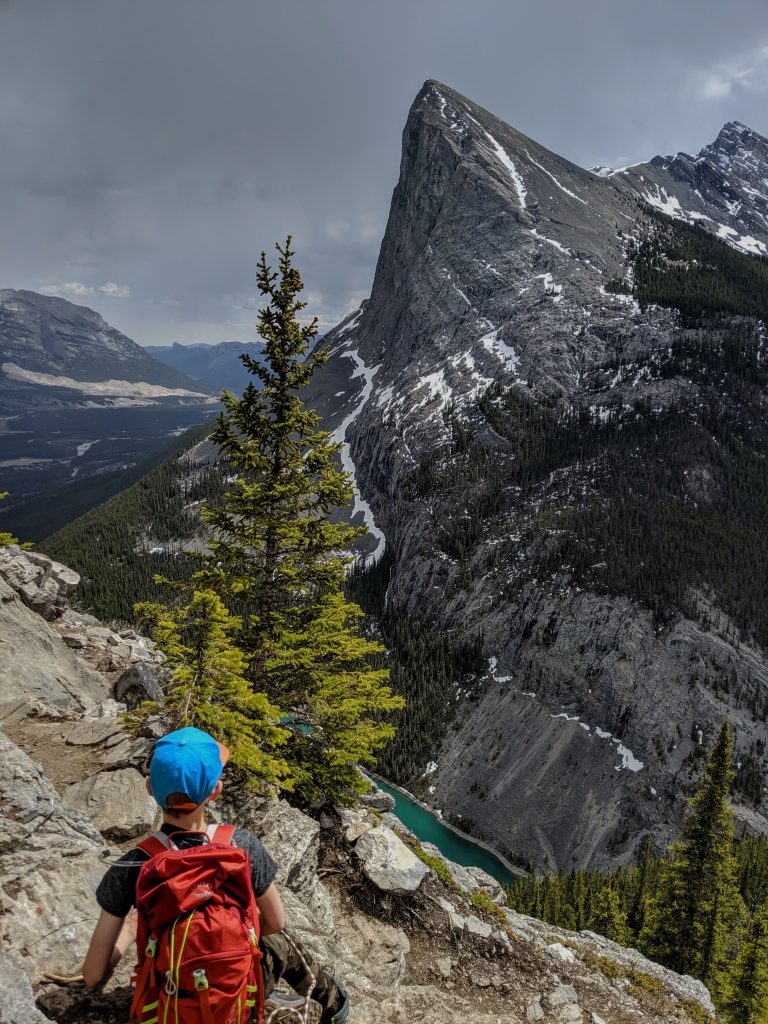
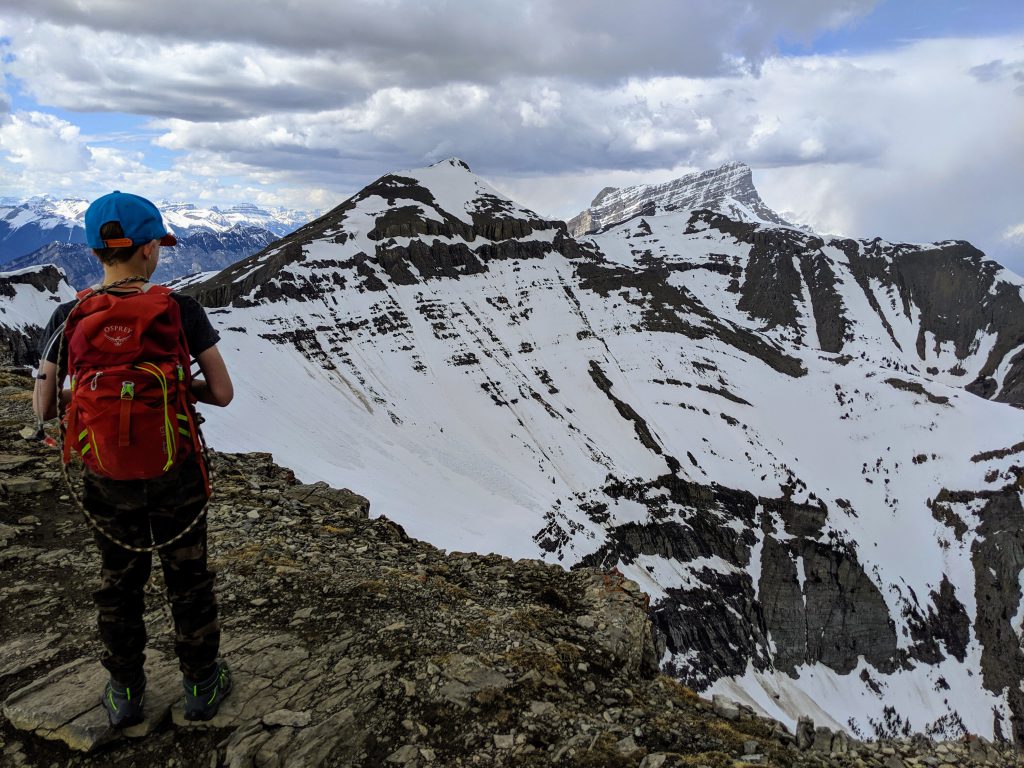
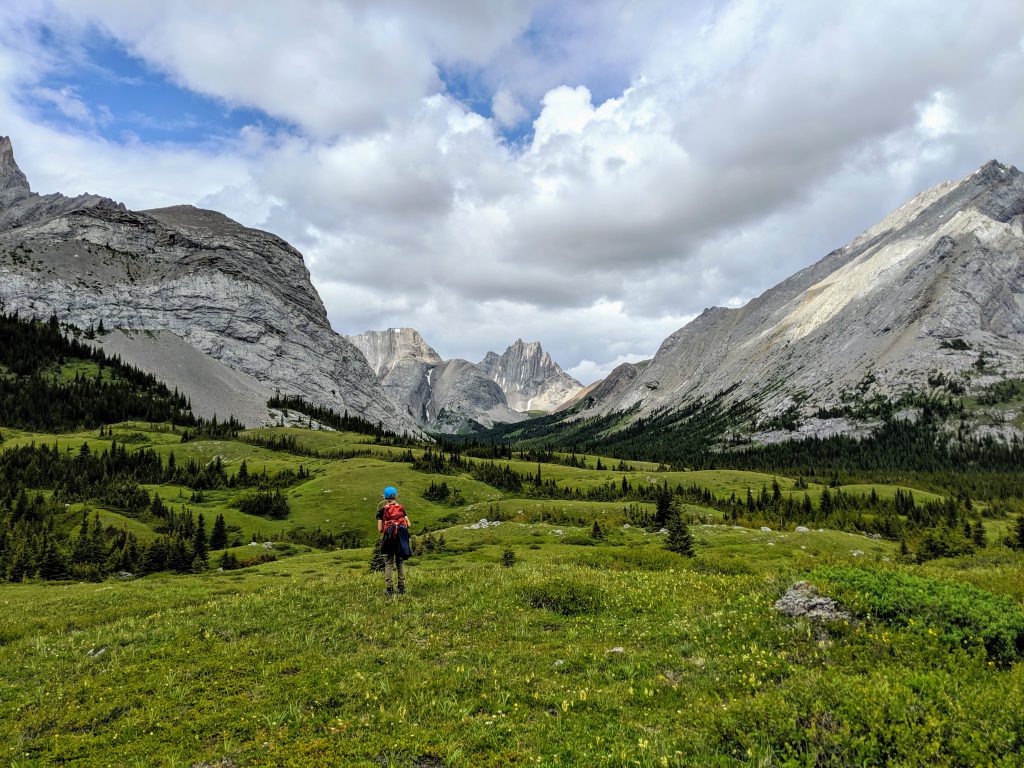
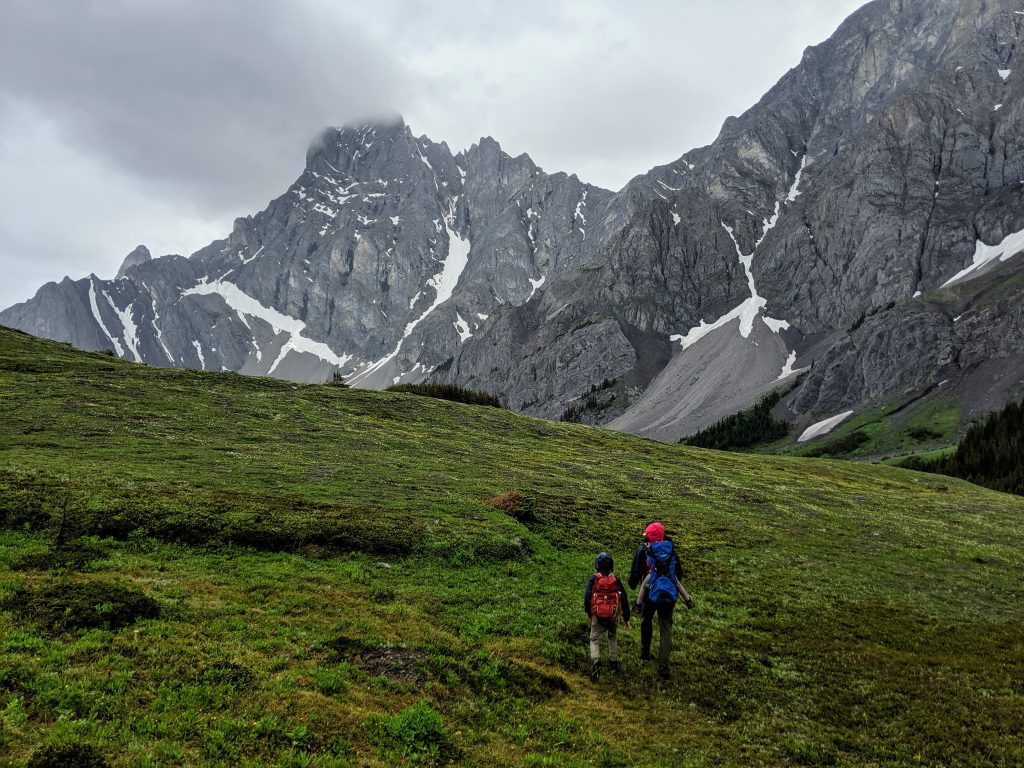
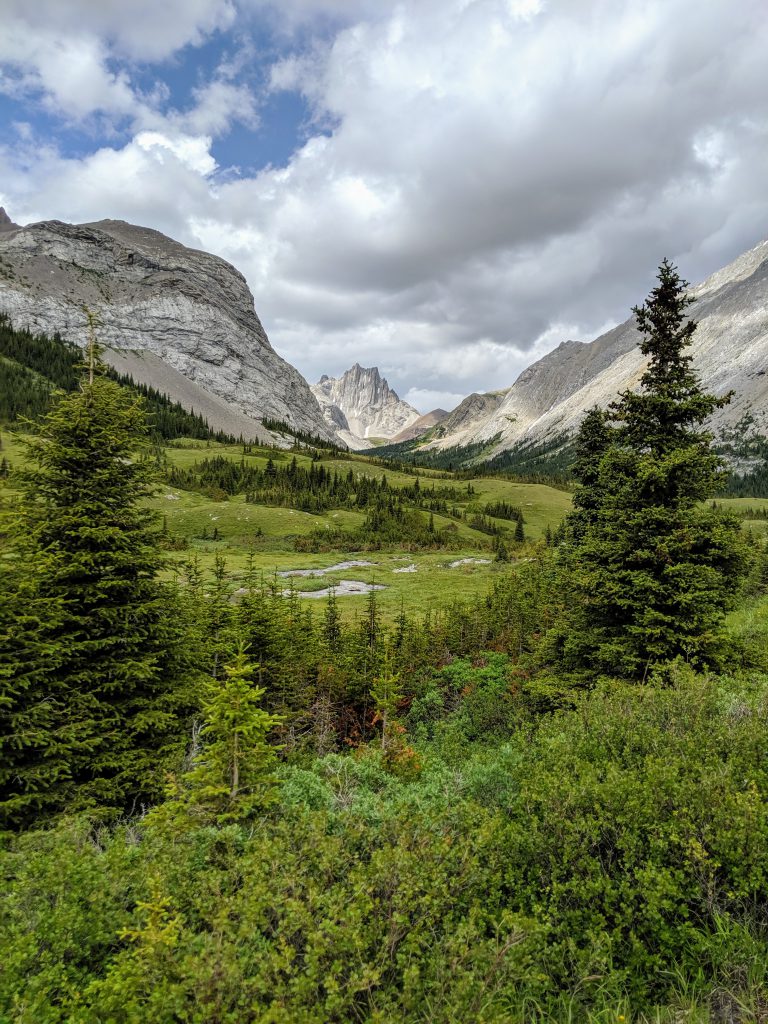
I absolutely can not express the absolute beauty of this hike. The mountain to the right is Tombstone Mountain. I’ll have to climb that one day I think.

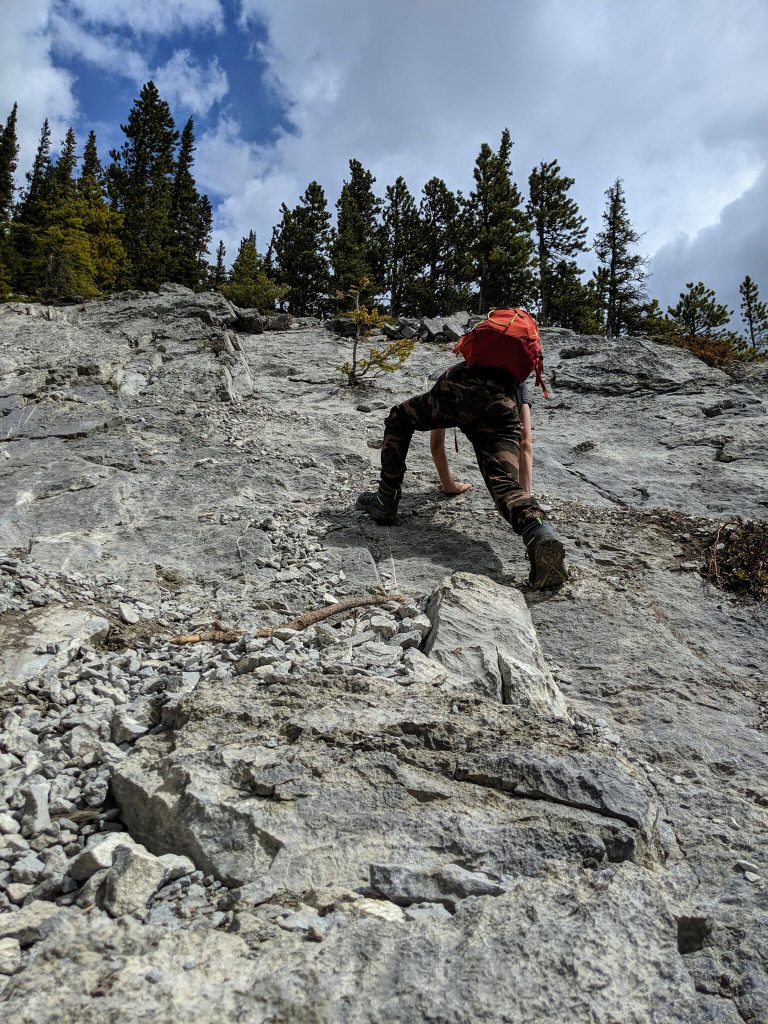
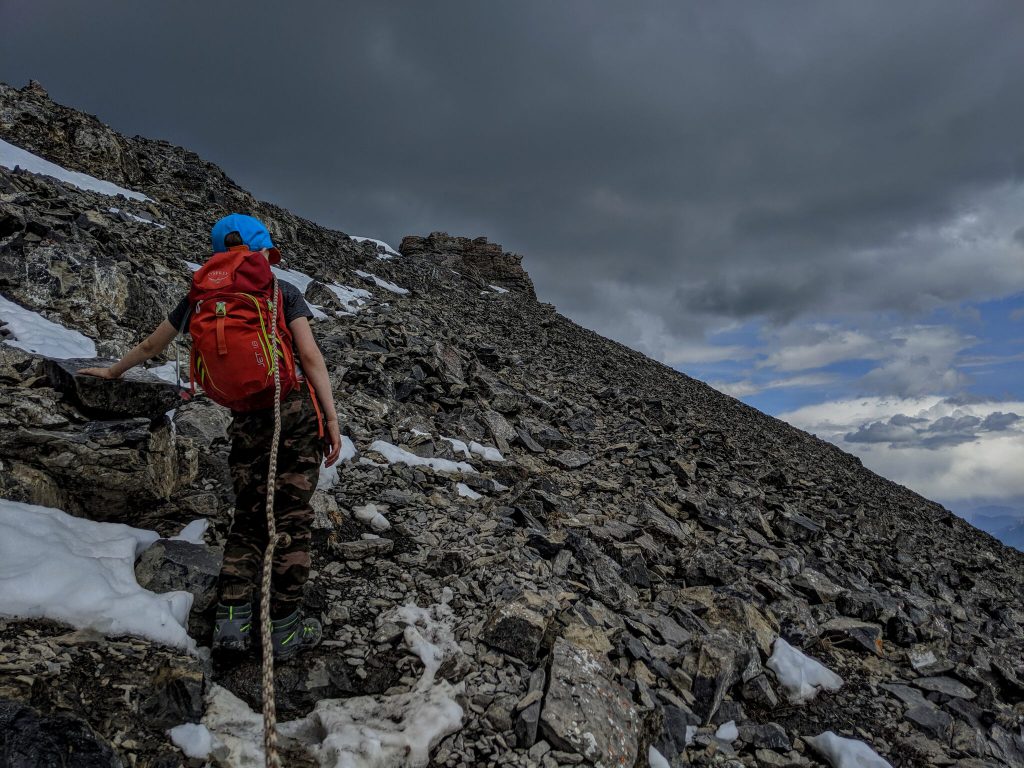
The Piper Pass portion of the hike is nothing more then a goat path and actually difficult to find if you don’t know what you’re looking for. You should have your route mapped out before heading out. There was multiple times I second guessed myself as we were almost bushwacking in some spots.

Won’t let me rotate this photo…

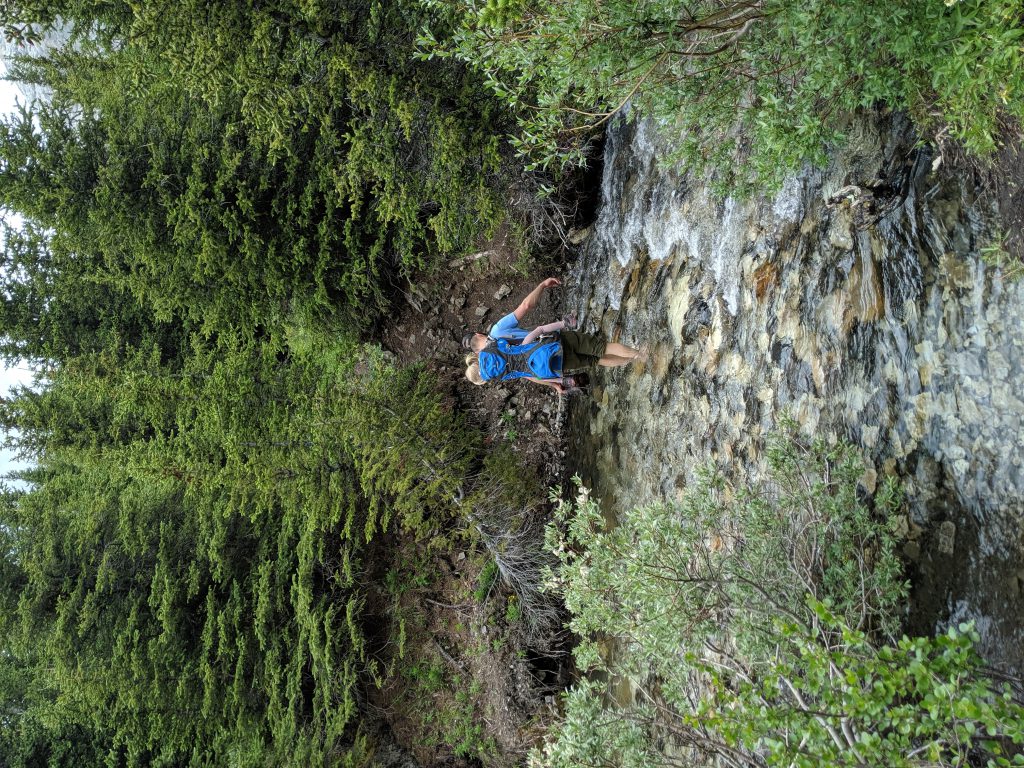
There were 2 separate creek crossings. The first crossing, there’s no way around it you will be in the water. We took our boots off as the water was up to our knees. It was so cold that a few steps into the crossing our feet started to numb. However there is a large downed tree at the second crossing just up the creek a little ways. Its a much smaller crossing as well.

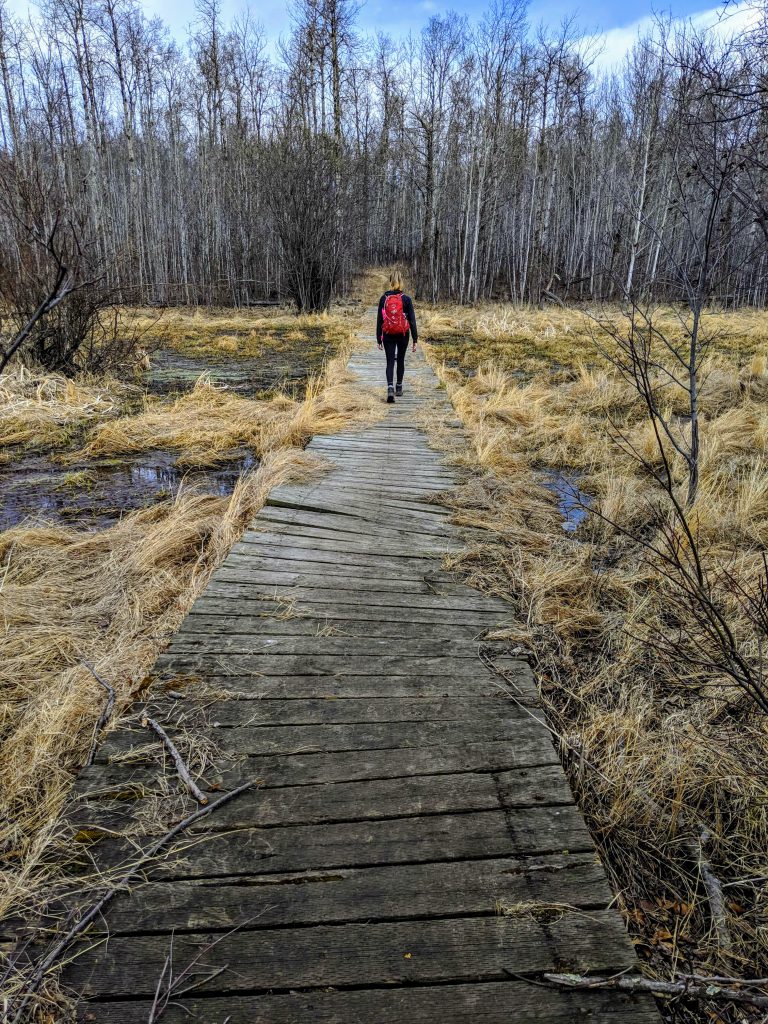
From the creek you will spend the next few km’s hiking through forrest. The path is well defined. There is a brief opening in the trees where you will start to see dense wild flowers. Then back in the trees you go.

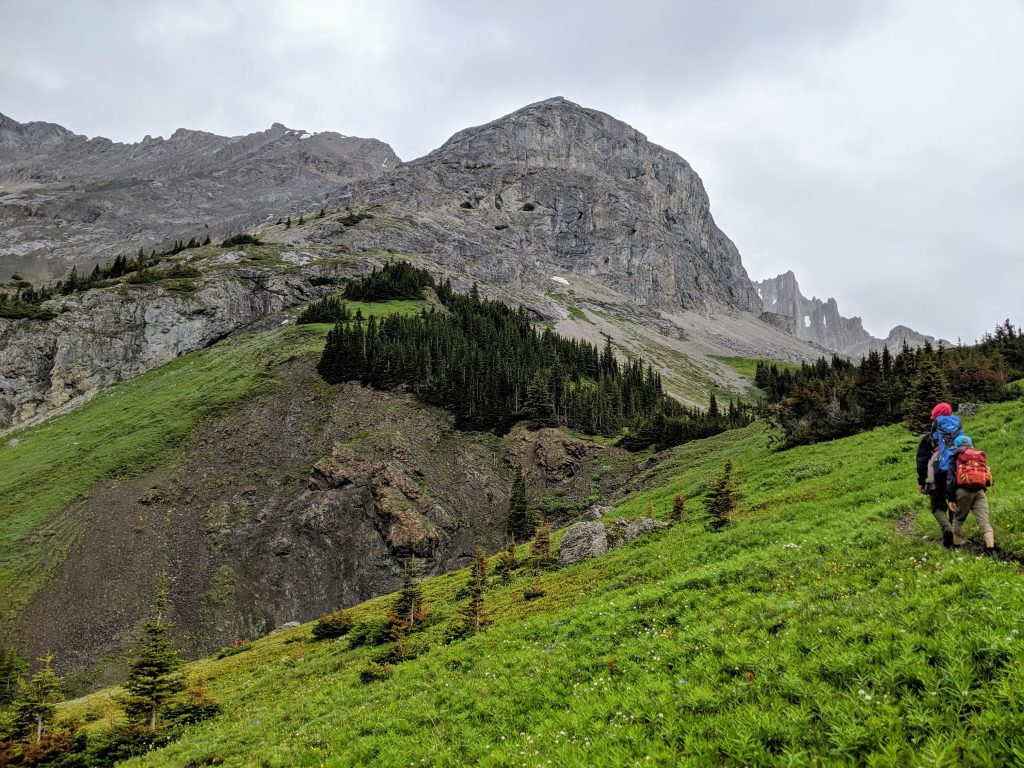
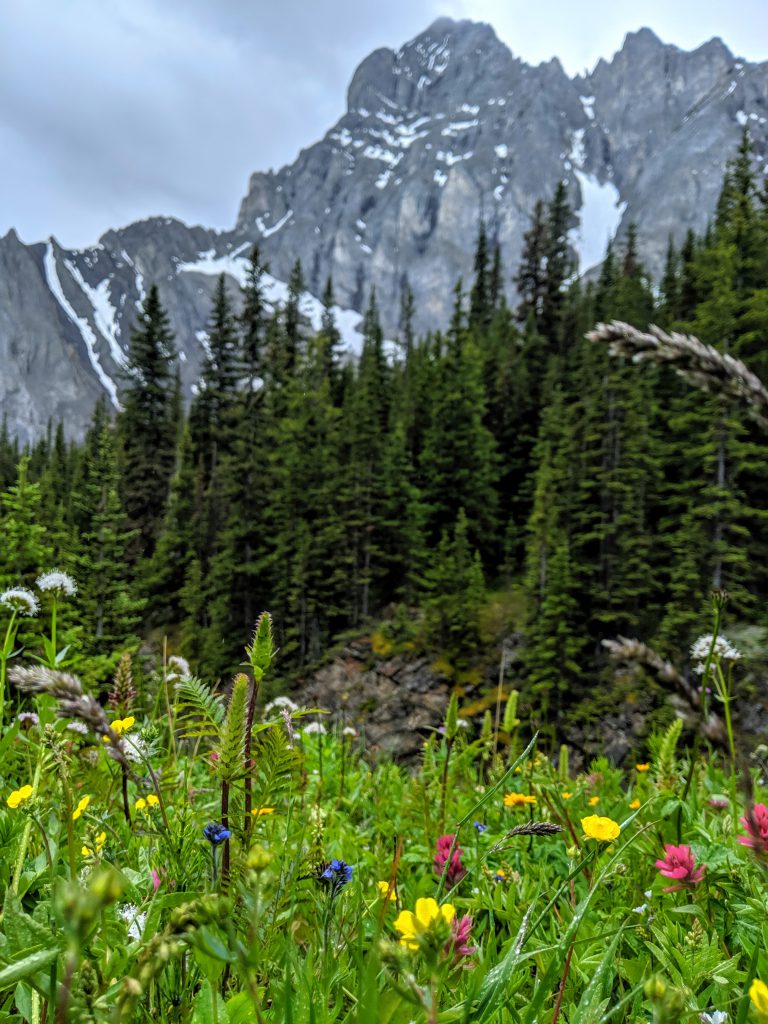
The final ascent into the valley is a small and well warn path through wildflowers. If you are looking for wildflowers this is the hike for you. Its hard to tell in the picture but this entire field was littered with every wildflower imaginable. The path itself is indented almost a foot deep as to not wreck the surrounding flowers. Good job follow hikers!

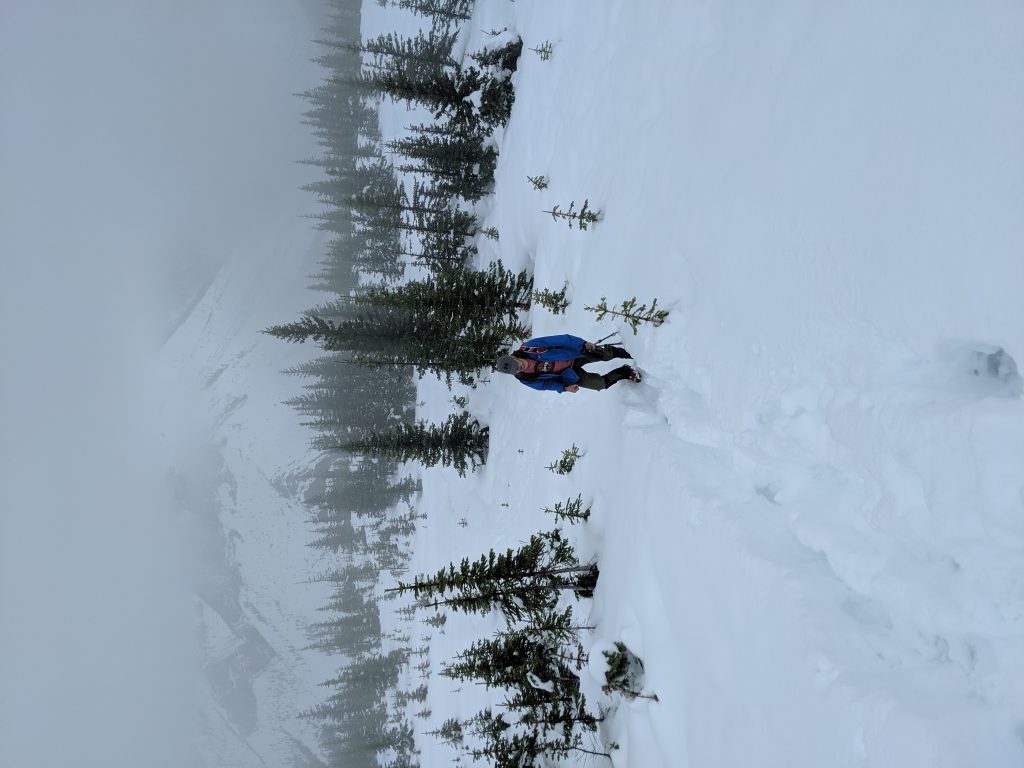
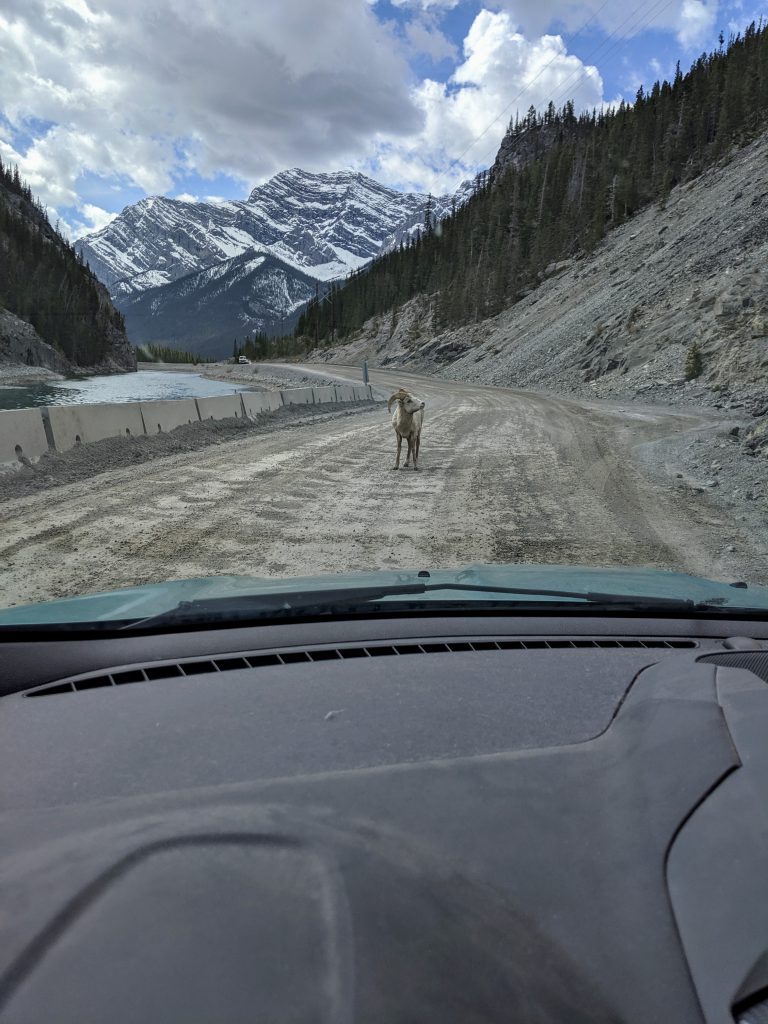
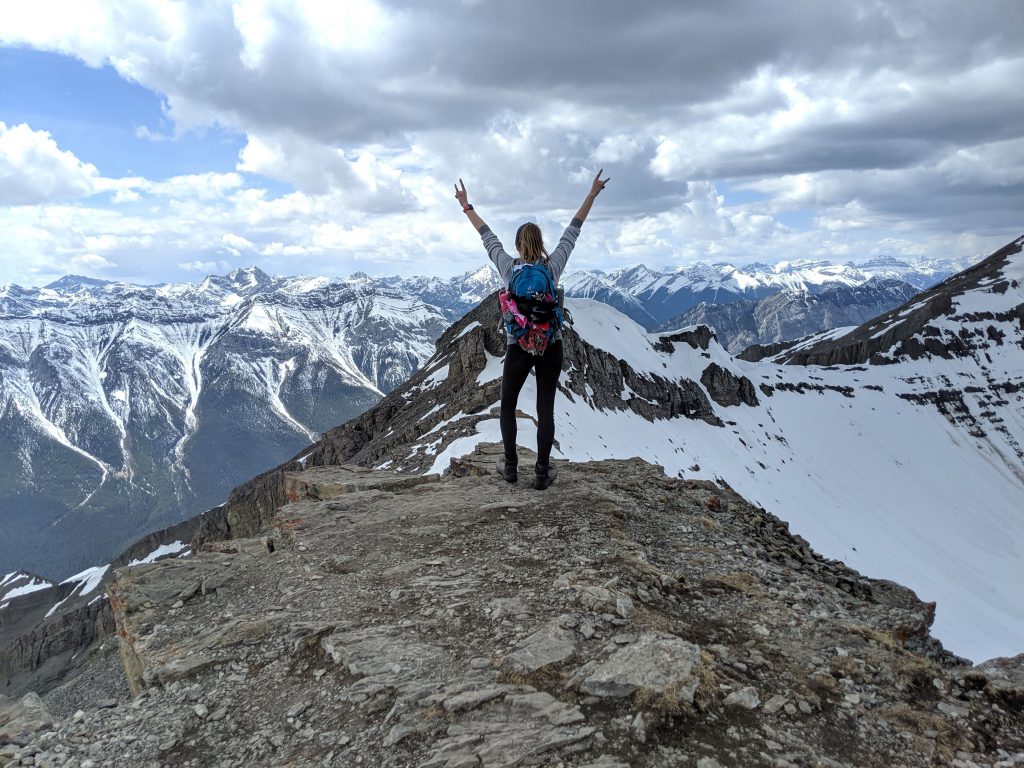
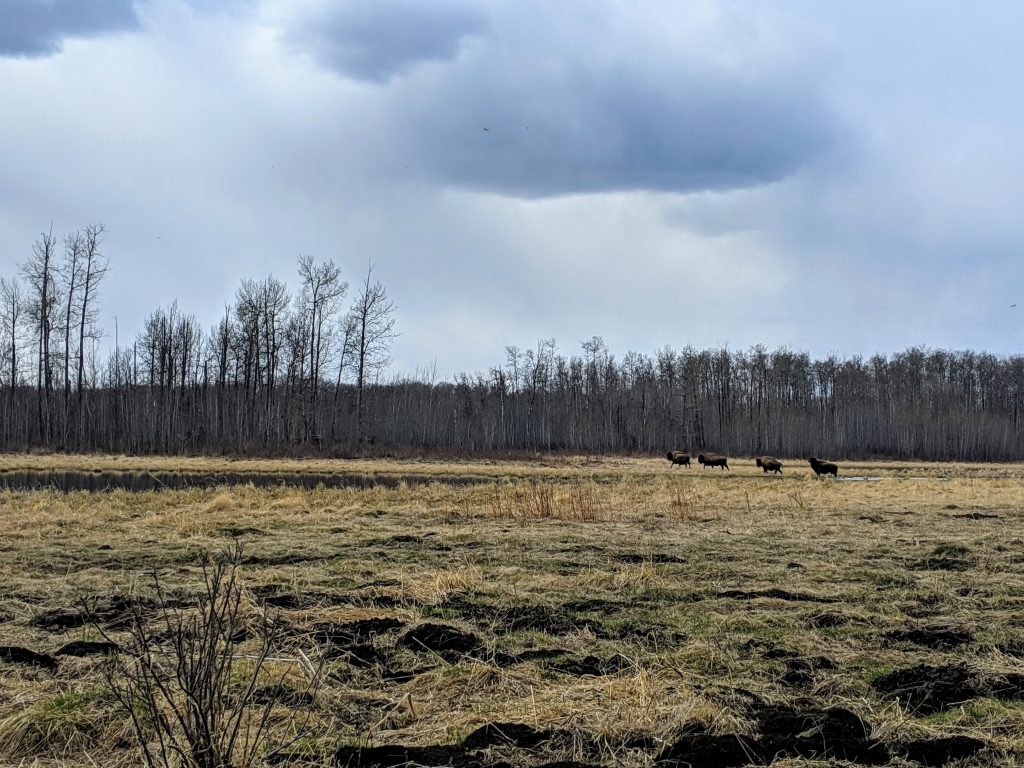
It rained almost our entire hike and it was quite windy in the valley or we could of spent all day here. It was absolutely beautiful. Flowers, creeks, mountains and lots of mountain goats hanging around.

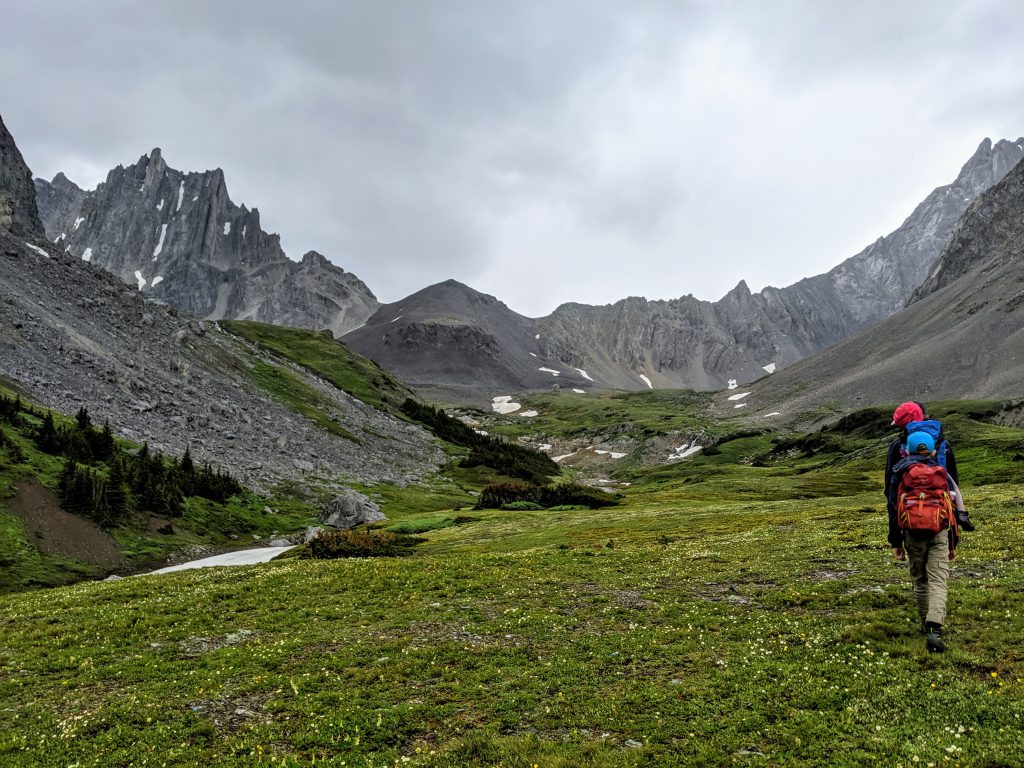
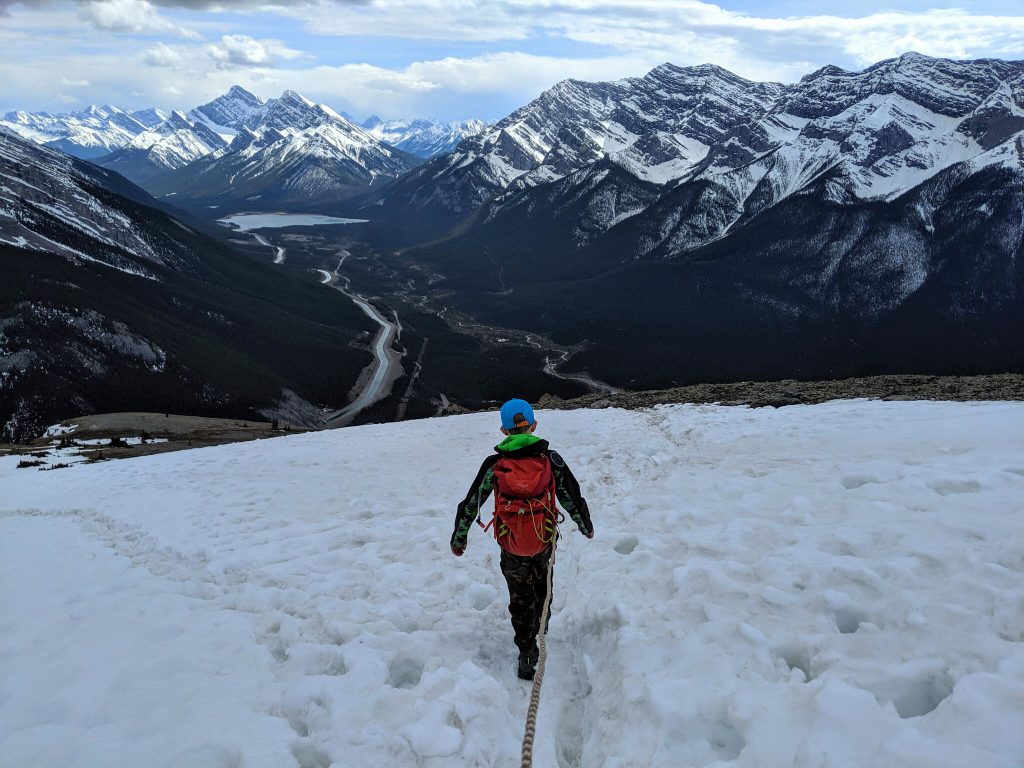
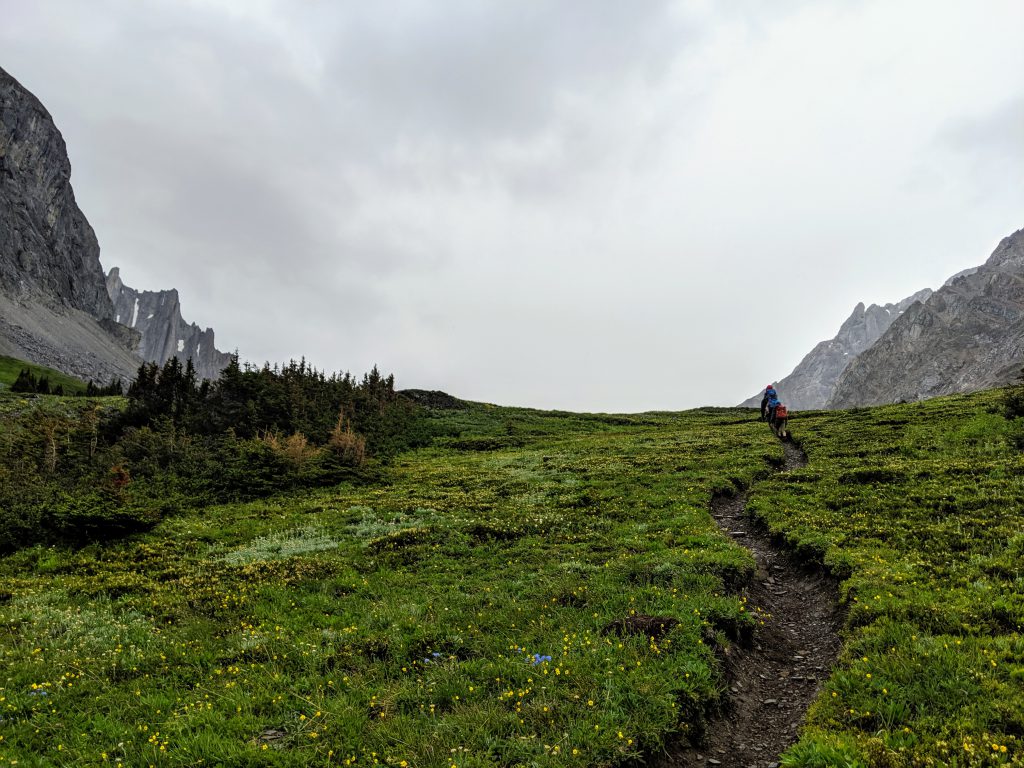
As I said before, we did not end up finishing this trail but you can see the end in this photo. Left of center is a small black peak, this is the end of the trail. I will update info when I’ve done the path in it’s entirety. With the rain we didn’t want to traverse a half km ascent of wet scree with a 4 and 10 year old.

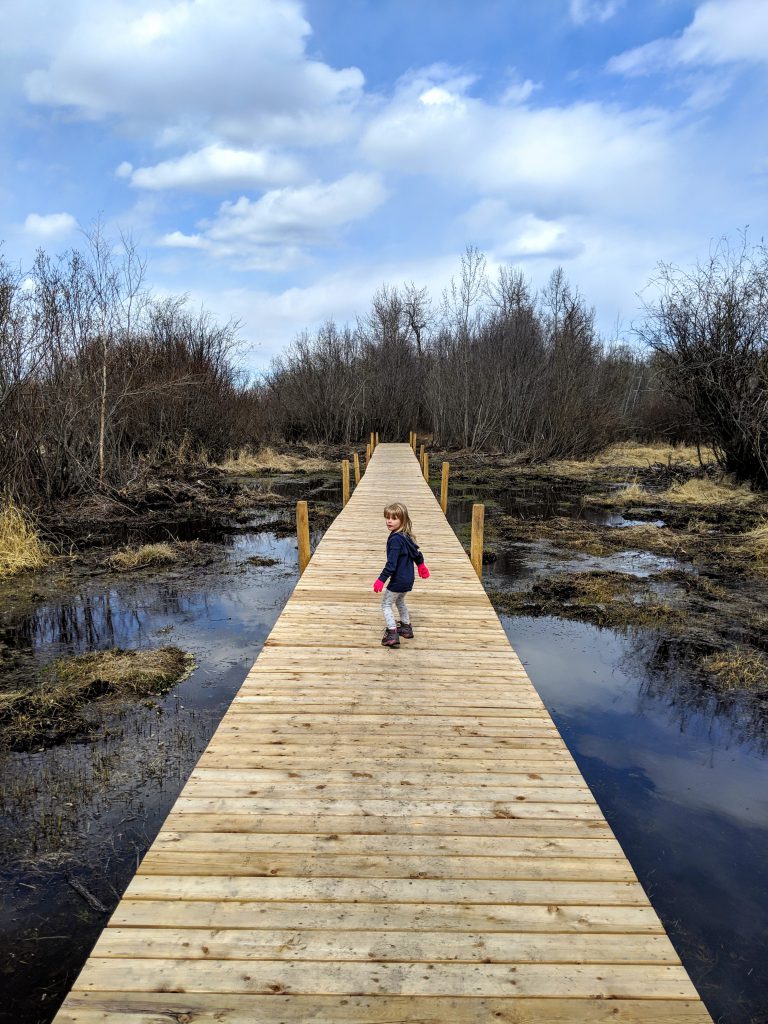
So to recap, this is a moderate hike up to the valley. The path is well defined although you will have to know where you are going to take the correct turn to piper pass so map out your route ahead of time. We were very happy so have waterproof footwear navigating thick and wet brush. The trail is busy for the first km but after the turn off for piper pass we had the entire trail to ourselves. I would say this is and fabulous family hike and you can certainly take a leashed dog on this trail. This is bear territory and although the rain kept the mosquitoes away I can only imagine that it can get quite buggy. This is the perfect trail if you are looking to see/photograph wilfflowers. We went mid July and it was in full bloom.

Sulphur Skyline (Jasper)

  • Length – 7.7 Km
  • Elevation – 649m
  • Difficulty – Moderate

We ended up hiking Sulphur Skyline Trail on the first day of summer. Of course, this means nothing in Alberta and mother nature decided we needed a good snow fall to start the summer out. Undeterred, we drove 4 hours from Edmonton to get to the trail.

The trail head starts past the Miette Hotsprings. The parking lot is large but even on a weekday after a large snowfall it was half full. There was a black bear walking around the parking lot being stalked by tourists. Please please don’t do this. This is how you sentence wild animals to death. People were getting within 10 feet of the bear and this is a recipe for disaster. I’ve said this before but i’ll say it again, regardless of what kind of animals you encounter on your hikes, please leave a very healthy and respectful distance between you and them.

Having said that, the beginning of the trail is paved and has a few small wooden bridges to cross over creeks that one could easily step over. The first 1/3rd of the hike is a relatively easy assent.

You will come to an intersection, left goes to Mystery lake. Originally we had planned to hike to Mystery Lake and then Sulphur Skyline. We made it about 200 meters in to the Mystery Lake portion before turning around as the snow was up to our hips.

Right is Sulphur Skyline trail and this is where the switch backs begin. They aren’t particularly daunting and offer some terrific views. This is also where the crowds really begin to thin out.

It won’t let me flip this image….

Above the treeline the real fun began. The switch backs stop and instead you just hike straight up to the top. This is the most difficult and exhausting part of the trail (even more so because the snow was above our knees).

I’d love to say that this trail was worth all the trouble but unfortunately the mountain was completely blanketed by fog. Having looked at pictures of this trail in the past I know that there should be an endless sea of mountains behind me. We couldn’t even find an outline. Such is the way with mountains though. You have to be a sucker for punishment as you aren’t always rewarded with fantastic views and instagram worthy pictures. We will be back for redemption and when we are I will make a new post.

We did manage to luck out on one thing though, at the very top we came across some wild flowers poking through the snow. It’s the little things. So to recap. Busy parking lot with chance of bear sightings (bring bear spray). The first 2/3rds are heavily tree’d and in the summer months you can expect bugs (mosquitoes, ticks, deer flies) so bring bug spray!! This is a busy and easy mountain hike with no real technical spots. I’d say its a very good beginner mountain hike. Happy Hiking!

East End of Rundle (EEOR)

  • Length – 5.6 Km
  • Elevation – 883m
  • Difficulty – Hard

Yesterday my son and I decided to hike up EEOR. Rundle is actually a huge mountain that stretches from Canmore all the way to Banff. EEOR is the east end (obviously) and is the section closest to Canmore. Conditions were perfect, it was 15 degrees and a cloudy day but all the clouds were above the peak so that didn’t bother us. Trail was dry and with the exception of a small portion near the top there is no snow left on the trail.

The trailhead is located on the Three sisters parkway. Follow the parkway past the Grassi lake turn, the pavement will turn to gravel. The road isn’t in the best shape and it can be busy with not only cars but animals, cyclists and pedestrians. You will see a series of pullouts at Whitemans Pond. Pass the first pullout (with the outhouse) and park in either one of the other 2 further down the road. If you reach Ha Ling then you’ve gone to far. The trail head for EEOR is not marked. From the parking lot cross the road and you should see a small path, that is your trailhead.

Before I get in to the hike itself, lets talk about difficulty. As far as mountain Hikes go, this isn’t a difficult one. I’d rate the hiking portion as moderate, however there is quite a bit of scrambling on this trail which ups the overall difficulty to hard. I rate hikes based off my fitness abilities so please keep in mind, if you are just getting in to hiking or you are not as fit as you’d like to be you may find this hike more difficult.

If you are unaware, scrambling is when you have to use your hands (sometimes knees and butts) to navigate the terrain. EEOR is a fantastic beginner scramble. I say this because well there is quite a few sections where you will possibly be using your hands, there is very little exposure and therefore the risk of serious injury or death is low.

Lets get to the hike. The beginning of the trail is through the trees and the path is well worn and easy to follow. You will be gaining a significant amount of elevation the whole way.

The trail continues up and once you are through the thickest part of the trees you are rewarded with one of my favourite views. From here the fun and confusion begins. The trail becomes less apparent as people have created their own roots to scramble up different sections of rocks. All in all though the paths usually converge back onto the main trail.

Eventually the trail goes right to the edge of the mountain. This is the most exposed you will be on EEOR and this is where I chose to attach my son to me. He would remain attached until we got passed this point again on the way down.

From there the scrambling becomes a little more difficult but still very manageable. This was my sons favourite part. He had a blast picking routes and monkeying his way up.

Once we passed the trees we were rewarded with fresh, cold water flowing in small streams from the ground. Here the trail splits into 2, if you stay to the left you will get to the peak. The right offers up some really sick views as well. We stayed left and then crossed the scree to the other trail on our way down. The trails makes it way through some scree and then through snow, very very soft snow. I sank to my knees more then once. I would assume by June the snow will be completely melted.

Essentially once you are passed the tree line you will be hiking on scree. Scree is basically just a bunch of loose rock. This can be tricky and a little scary as the ground can slip out from under you. This is especially dangerous if people are hiking below you as rocks being kicked out by hikers can and do kill people.

There is one more small section of scrambling to get to the top. When you pull yourself up over that final ledge the view is mind blowing. Make sure you look for the little ammo box, it contains pens and papers and you can sign your name or leave a little message for others.

After the summit we headed back down the slope a little ways and then crossed the scree to meet up with the other path. Remember those sick views I was talking about? It takes you to a ledge and you get a really good view of Three Sisters. If you aren’t quite ready to go all the way to the summit, I highly suggest sticking to the right when the path forks, you will skip the worst of the scrambling, most of the scree and you will still be rewarded.

To recap, this is a fantastic beginner scramble. You don’t have to make it all the way to the top to be rewarded and there is very little exposure and risk of death. The hike itself is moderate to hard depending on your fitness level. I do not recommend bringing children on this hike unless they are experienced hikers and you are confident in both your abilities as well as theirs. It took us around 4 hours to do with lots of stops for pictures and 15 minutes on the summit. Happy Hiking!

Wood Bison Trail Elk Island National Park

  • Length – 16.5 Km
  • Elevation – 245 Meters
  • Difficulty – Easy

Today we hiked Wood Bison trail in Elk Island National Park for the first time. The trail is well marked and easy to follow. The majority of the trail is through forest and views are limited. The whole area is sort of swampy bog and therefore bugs are a huge issue. I can only imagine this trail is prime mosquito territory in the summer. If you plan to go in the warmer months prepare to slather yourself with bugspray.

If you are looking to see Bison then this is the trail you want to be on. We spend a lot of time in Elk Island National Park and it can be hit or miss depending on the day. However today we spotted Bison every couple of kilometres, from herds to single animals. Keep in mind that the Bison in the park are wild and you should leave a very respectful distance between them and yourself. That being said, these Bison aren’t as used to people as the ones on the other side of the Highway and generally try to avoid you when they notice your presence.

Speaking of Bison, wear shoes you aren’t afraid to get dirty. The trail is not only used by people and its very evident. As well, as stated previously, it is a very boggy area and can be quite muddy in places.

Our favourite part of this hike was the numerous sketchy bridges (with the exception of the 2 largest ones which are in good shape). Some were missing planks, some had begun to twist and contort and mother nature had begun to reclaim others. Seeing as how these were the best part of the trail I hope the park doesn’t fix them anytime soon.

This was a kid friendly hike. Nothing overly difficult other then the length. The trail itself is a large loop around a lake so you either walk the whole way or you walk a little ways in and turn around. If you just want to see the best of the bridges, when you enter the gate at the trail head immediately turn right and follow the trail that way.

This trail is lightly trafficked. We did not see another soul on our hike and we were the only car in the parking lot when we pulled up and left. I would not recommend off leash dogs on this trail due to the immense amount of wildlife. Unless your dog can resist chasing birds, squirrels, bison, elk, moose, rabbits, coyotes. We actually had a ruffed grouse follow us for over a kilometre. It just walked/ran along behind us.

Oh, one more thing. This trailhead is on the south side of the Yellowhead. Where you would normally turn left to go into the park, turn right onto the gravel road and follow it to the parking lot. Happy hiking all!